SEO Checklist for Blog Posts: What to Check Before You Publish (+ Free Printable)
SEO can make publishing a blog post feel far more complicated than it needs to be.
You write the post, edit the photos, format everything, and then your SEO plugin starts giving you opinions. Your keyword isn’t in enough places. A heading needs work. Something is orange instead of green. Before long, you’re changing perfectly natural sentences just to satisfy a little colored dot.
I know because I’ve been there.
When I first wrote this post back in 2019, SEO advice was much more focused on where and how often you used a keyword. I followed plenty of those recommendations too. I researched keywords, added them to specific places, optimized images around them, watched my SEO plugin, and checked things off my list.
Some of those basics still make sense. Some need a lot more context. And others aren’t how I approach SEO anymore.
Today, my SEO checklist is much less about putting an exact phrase in a prescribed number of places and much more about making sure the post clearly communicates what it’s about, answers what the reader came for, and gives search engines enough context to understand it.
That’s what this checklist will help you do.
If you are new to blogging and don’t know yet what is SEO and how it works, I would suggest you check out this post from MOZ. It’s a great way to start diving into this. I also recommend Backlinko’s post. It has a great article about SEO basics.
What Makes a Blog Post SEO Friendly Today?
An SEO-friendly blog post isn’t one that was written for Google.
It’s a useful post created for a real person that search engines can also understand, crawl, index, and connect with relevant searches.
Google’s own guidance encourages creating helpful, reliable, people-first content rather than content primarily created to manipulate search rankings.
That doesn’t mean keywords, titles, internal links, metadata, images, or technical SEO suddenly don’t matter. They absolutely do.
It means those things should support the content instead of controlling it.
For me, that distinction makes SEO much easier to understand.
You aren’t trying to find every possible place to put a keyword. You’re helping Google understand a genuinely useful page.
Still working on the writing itself? This checklist assumes you already have the foundation of your post in place. If you’re still working on that part, my guide to writing engaging, SEO-friendly tutorial and recipe posts walks you through the writing and structure first.
So before you publish your next post, this is what I would check.

1. Make Sure You Know What the Post Is Really About
Before worrying about SEO fields or plugins, I start here:
What would someone search for if they needed this post?
I’ve asked myself some version of this question for years, and it’s still one of the most useful SEO habits I’ve developed.
The difference is that today I think beyond the keyword itself.
I want to understand the search intent behind it.
If someone searches for “how to make an envelope pillow cover,” for example, they probably don’t need a history of pillow covers before getting to the tutorial. They want to know how to make one, what they need, how much fabric to cut, and what to do if their pillow insert is a different size.
The keyword tells me what they’re searching for.
The intent helps me understand what they need when they arrive.
Before publishing, ask yourself:
- Can I clearly explain what this post helps the reader do, learn, make, solve, or decide?
- Does the content actually deliver that?
- Would someone searching for this topic feel they landed on the right page?
If you can’t answer those easily, I would work on that before touching anything else on this checklist.
2. Choose a Clear Primary Search Topic
Keyword research still has a place in my process. I just don’t use it as a set of instructions for how many times a phrase needs to appear.
I use keyword research to understand how people search for a topic.
That can help you compare terminology, see related searches, understand how specific or broad a query is, and sometimes spot questions or angles you hadn’t considered.
Search volume and competition can be useful information too, but I wouldn’t choose a keyword based only on a magic combination of “high volume and low difficulty.”
A keyword can look wonderful in a tool and still be wrong for your content.
Relevance and intent come first.
For smaller blogs especially, a more specific query may also make much more sense than chasing the broadest phrase in the niche.
Choose one primary topic or phrase that accurately represents the page. Then let closely related terms, questions, synonyms, and natural language appear where they make sense.
You don’t need to collect a list of secondary keywords and squeeze every one of them into the post.
3. Check Your Blog Post Title
Your post title should make the topic clear quickly.
Creative titles can be fun, but if someone has to guess what the post is about, the title probably isn’t doing enough.
For most search-focused posts, I try to include the primary topic naturally in the title because it helps both readers and search engines understand the page.
But natural is the important part.
I wouldn’t turn a good title into an awkward one just to move an exact keyword three words closer to the beginning.
Ask yourself whether the title:
- Clearly describes the content.
- Matches what the post actually delivers.
- Uses language your audience would understand and potentially search.
- Gives someone a reason to choose the post without resorting to clickbait.
Google can use several sources when generating the title link shown in search results, so your visible page title and SEO title should accurately represent the page.
Clarity wins here.
4. Keep the URL Simple and Descriptive
This is one of the older SEO habits I still agree with, although I wouldn’t overcomplicate it.
A URL such as:
yourblog.com/envelope-pillow-cover/
tells us much more than:
yourblog.com/?p=6745
Keep URLs readable, descriptive, and reasonably concise.
You don’t need to remove every little word such as “the,” “and,” or “for” because someone once put them on a list of SEO stop words. If the URL makes sense without them, great. If removing them makes it strange, leave them.
And if you’re updating an existing post that already has a working URL, don’t casually change the slug just because you’ve found a slightly better keyword.
Changing established URLs creates another job: redirects. Unless there’s a good reason for the change, I usually prefer leaving an existing URL alone.
5. Make the Introduction Confirm the Reader Is in the Right Place
I used to teach that your keyword needed to appear in the first paragraph.
I look at this differently now.
The beginning of your post should make the topic obvious, so yes, the main phrase or a natural variation will often appear early anyway.
But that happens because you’re clearly introducing the subject, not because Google needs an exact keyword in sentence number two.
Your introduction should quickly help readers understand:
Yes, this is the page I was looking for.
For a tutorial, tell me what we’re making.
For a recipe, tell me what kind of recipe this is and something useful about the result.
For an educational post, establish what I’m going to understand or solve.
You can still sound like yourself. You can still tell a relevant story. You don’t need to turn every introduction into two robotic SEO sentences.
Just don’t make readers work through several paragraphs before they understand why they’re there.
6. Check That the Post Fully Meets the Need
This is the part of SEO that no plugin can do for you.
Read the post as if you didn’t write it.
Does it give the reader enough information to accomplish what brought them there?
That doesn’t mean making every post longer.
A 900-word post that completely solves the problem can be far more useful than a 3,000-word post padded with information nobody needed.
Look for information that would genuinely help.
For a DIY tutorial, that could be measurements, material alternatives, difficulty, mistakes to avoid, or what you’d do differently next time.
For a recipe, it might be ingredient substitutions, texture cues, storage, troubleshooting, or details that help someone know whether they’re doing it correctly.
For an educational article, it might mean examples, context, sources, screenshots, comparisons, or your own professional experience.
This is also where experience matters.
If you’ve actually made the project, tested the recipe, used the tool, worked with the plugin, fixed the problem, or helped a client through it, say what you learned when it’s relevant.
First-hand experience can give readers something they won’t get from ten articles repeating the same information.
But don’t add sections simply because an SEO tool or content template says every post needs them.
Add what helps.

7. Use Headings to Organize the Content
Headings make longer content easier to scan and understand.
They also give structure to the page.
Use your H2 and H3 headings to divide the post into logical sections and help readers find the information they need.
Your main topic and related terminology will naturally appear in some headings when relevant. You don’t need your exact keyword in two H2s and one H3 because somebody created a formula for it.
I used to recommend things like that.
I don’t anymore.
A heading’s first job is to tell the reader what the next section is about.
If the keyword belongs there naturally, use it. If it doesn’t, don’t force it.
8. Optimize Images Without Turning Alt Text Into a Keyword Field
This is another area where my advice has changed quite a bit.
I still recommend giving image files descriptive names before uploading them.
diy-envelope-pillow-cover.jpg
is much more useful than:
DSC_4287.jpg
Google recommends descriptive filenames because filenames can provide clues about the subject matter of an image.
But alt text is different.
Alt text exists primarily to describe an image and make its purpose understandable when someone can’t see it, including people using screen readers.
Write alt text that describes the image in the context of the page.
If your keyword naturally belongs in that description, fine.
If it doesn’t, don’t put it there just for SEO.
And don’t repeat the exact same keyword-heavy alt text across every image in a post.
Decorative images may not need descriptive alt text at all.
For process photos, describe what’s happening in the step.
For finished images, describe what is actually shown.
For images that contain important text, make sure the information isn’t available only inside the image.
Image SEO still matters. Keyword stuffing your alt text isn’t image SEO.
9. Add Useful Internal Links
Internal linking is one of the things I check on almost every post.
If another article on your site would genuinely help someone reading this one, link to it.
Internal links help readers continue exploring a topic and help search engines understand relationships between pages on your site.
Use descriptive anchor text when possible.
Instead of:
“Click here.”
Something like:
“See my guide to writing tutorial and recipe posts.”
gives both the reader and search engines more context about the destination.
But I don’t believe in adding exactly three internal links because three is somehow an SEO number.
Sometimes one is enough.
Sometimes a long guide naturally needs six.
Add links because they create a useful path through your content.
This is also a good moment to ask the reverse question:
Are there older posts on my site that should link to this new one?
Internal linking works in both directions.

10. Link to Outside Sources When They Add Value
External links aren’t something you need to add just to meet an SEO quota either.
Use them when they support what you’re saying, give readers access to a primary source, document a claim, or provide information that’s outside the scope of your post.
For example, if I’m explaining something Google specifically documents, I’d much rather send you to Google’s documentation than make you take my word for it.
Good sourcing strengthens content.
Choose useful, trustworthy sources and link because the source adds value, not because someone told you every blog post needs two external links.
11. Write a Useful SEO Title and Meta Description
Before publishing, check what you’re asking search engines to use when your page appears in search results.
Your SEO title should clearly describe the page and avoid awkward keyword repetition.
Your meta description should give someone a concise, accurate reason to visit the page.
Google doesn’t guarantee that it will use the title or meta description exactly as you’ve written them. Search results can be generated or adjusted based on the page and the specific search.
I still write them.
Why?
Because they give search engines useful information about the page and give me some influence over how I want that content presented.
Think description, not keyword container.
12. Check Your Categories and Tags, But Don’t Use Them as Keywords
Categories and tags are primarily part of your site’s organization.
Categories should help readers understand and browse the main topics on your site.
Tags can sometimes be useful for connecting content across categories, but many blogs don’t need an enormous tag system at all.
I definitely wouldn’t create tags just because they’re keywords you want a post to rank for.
Every useful archive page you create becomes part of your site’s structure. Hundreds of thin, nearly empty tag archives usually aren’t helping readers navigate anything.
Keep your taxonomy intentional.
13. Make Sure the Correct Structured Data Is in Place
You don’t necessarily need to manually add schema every time you publish a post.
Your SEO plugin, recipe plugin, theme, or another tool may already handle some of it.
But you should know what’s being generated.
A recipe should use appropriate Recipe structured data when applicable. Articles can use Article structured data. Other content types may have their own supported markup.
Structured data gives search engines explicit information about the content and can make a page eligible for certain search features.
It does not guarantee higher rankings or a rich result.
This is one of those areas where a good plugin can save you a lot of technical work, as long as it’s configured correctly.
14. Use an SEO Plugin as a Tool, Not a Scorecard
If you’re on WordPress, I do recommend using a reputable SEO plugin.
It can handle important technical elements and make it easier to control things such as SEO titles, meta descriptions, canonical URLs, robots directives, XML sitemaps, and structured data.
What I don’t recommend is rewriting a perfectly good article until every SEO indicator turns green.
Plugins use their own rules to evaluate content.
Google does not log into your WordPress dashboard and check your Yoast, Rank Math, AIOSEO, or any other plugin score before deciding where your page belongs.
Use the plugin to help you spot things you may have missed.
Then use your judgment.
15. Do a Final Reader Check Before You Publish
This might be the most important item on my checklist.
Forget the SEO plugin for a minute.
Open the preview and read the post like someone who just found you through Google.
- Can you immediately tell what the post is about?
- Is the answer or tutorial easy to find?
- Do the headings help you move through it?
- Are important instructions buried?
- Are there unnecessary paragraphs delaying the useful information?
- Do the images help?
- Can you read it comfortably on your phone?
- Are ads, popups, or other elements making the main content difficult to access?
Google’s current page-experience guidance looks at the experience as a whole rather than reducing it to one perfect score. Core Web Vitals matter, but Google also explicitly warns that chasing perfect scores purely for SEO may not be the best use of your time.
That’s a philosophy I can get behind.
Fix the things that make the page worse for people.
My SEO Checklist Has Changed, But the Main Question Hasn’t
There’s something funny about rewriting a post like this after so many years.
A lot of my old checklist has changed.
I no longer count how many headings contain my keyword. I don’t put the same keyword into every image alt text. I don’t add a certain number of links because a checklist tells me to. And I definitely don’t change good writing just to make an SEO plugin happy.
But one piece of advice from my original post survived almost untouched:
Think like the person searching.
- What would you type into Google?
- What would you expect to find when you clicked?
- What information would actually help you?
That question has been part of my blogging process for years, and it’s probably more useful now than many of the rigid SEO rules I learned along the way.
SEO still matters.
Keywords still matter.
Technical optimization still matters.
But all of those things work better when they’re supporting a genuinely useful piece of content instead of becoming the reason the content exists.
And yes, there’s a checklist for all of this because I am still me. 😄
After You Publish
Once the post is live, you don’t need to immediately start tweaking it again.
Make sure search engines can access the page and that it’s included in your normal site discovery process. If you ever need to check a specific URL, Google Search Console’s URL Inspection tool can show you information about how Google sees that page.
Then give it some time.
Search Console can show you the actual queries generating impressions and clicks for the post. That information is far more useful for future updates than changing things simply because an SEO tool suggests you could.
Don’t keep optimizing a post just because you can. Let the performance data help you identify whether there’s actually a problem to solve.
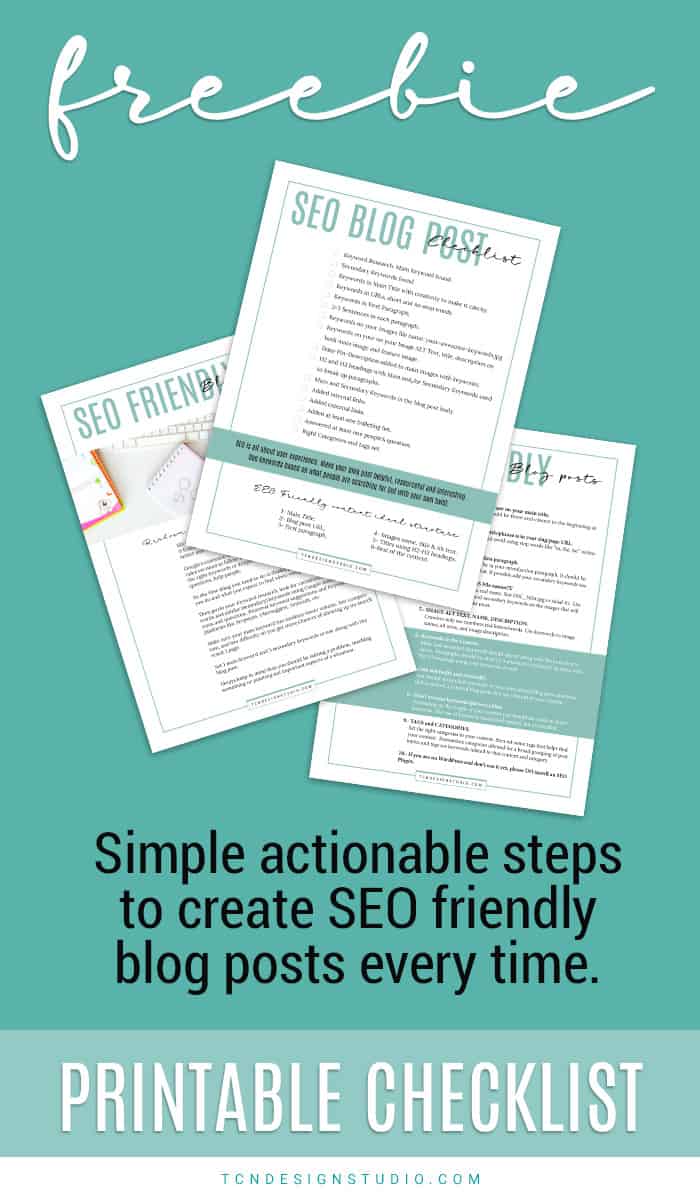
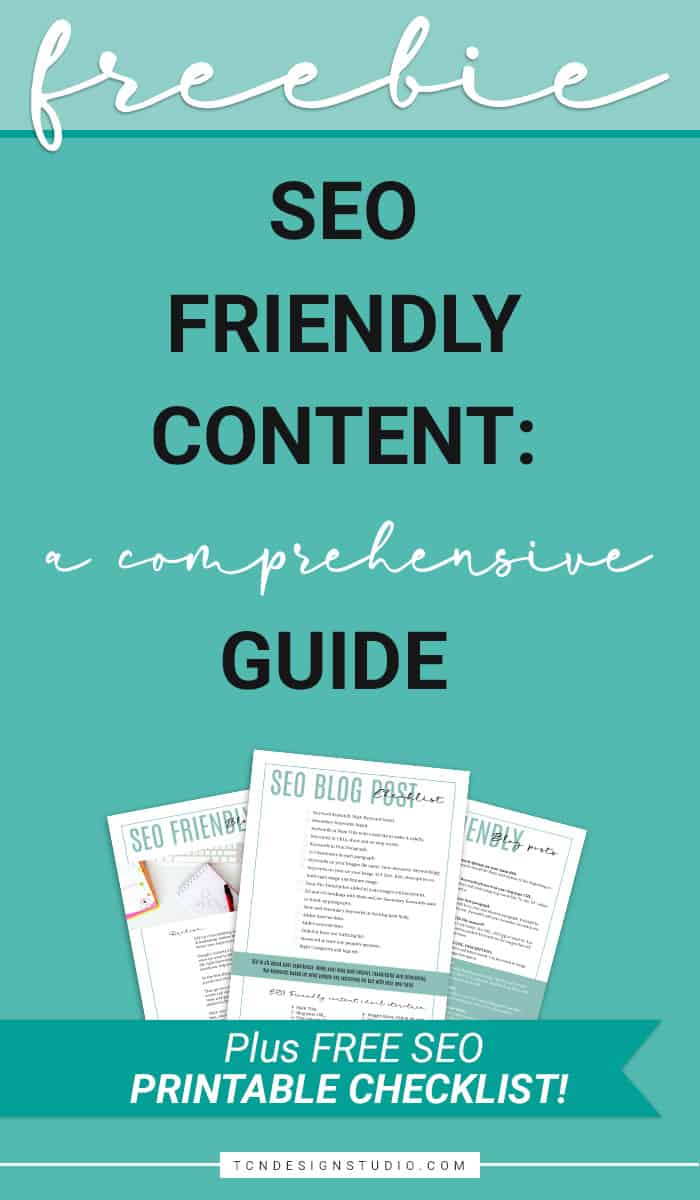
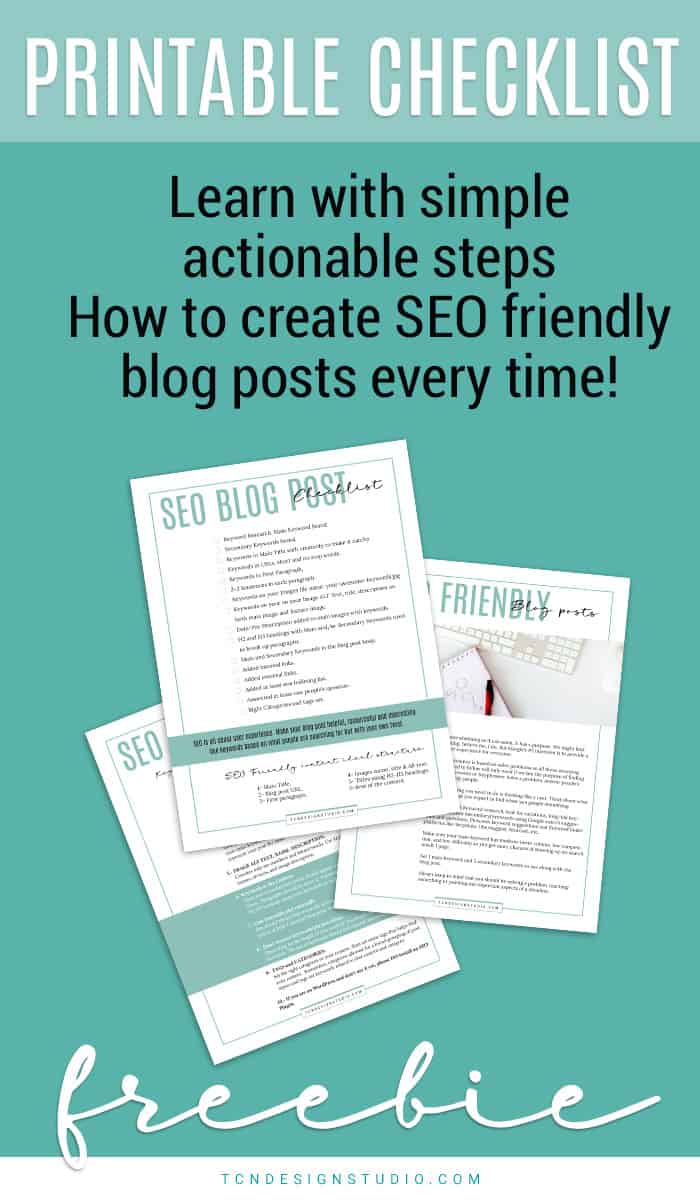
Grab the Free Blog Post SEO Checklist
I updated my original SEO checklist to match the way I optimize blog posts today.
It’s designed to give you one simple final review before you publish, without turning the process into another giant SEO project.
Use it while writing if that’s helpful, or keep it next to you for that final check before you hit Publish.
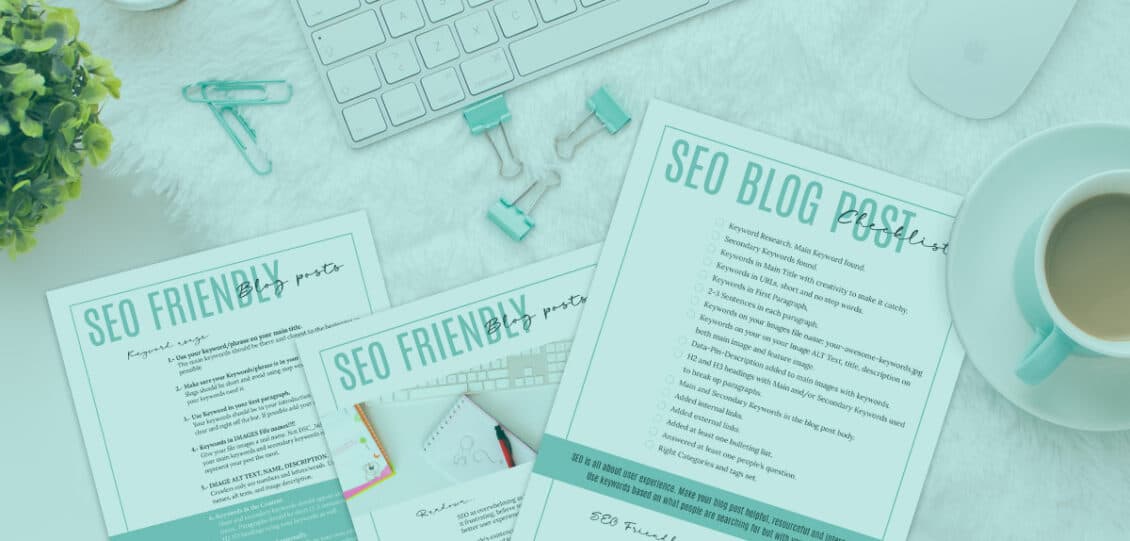
Grab your FREE Printable SEO Friendly Checklist
Click on the button below to have it sent straight to your inbox!
Then go publish the thing.
You do not need another three hours of tweaking because one SEO plugin light is still orange.
More Blogging Posts To Read
If you enjoyed learning about how to increase website engagement, you might also love these other blogging-related articles too:
- 5 Ways to Make Your Website Stand Out
- 7 Things to Increase Your Page RPM You can do today
- Tags vs Categories in WordPress Quick Guide
- The Ultimate Guide to Writing Engaging and SEO-Friendly Tutorial and Recipe Posts