In this tutorial, I’ll show you step-by-step how to start a blog on a self-hosted WordPress, which is super easy and costs less than $5/month!
If you have been thinking about how to start a blog of your own but you are not sure where to begin, my friend, you are not alone!
So many people just like you and me walk this road every single day and the most important key is to just be patient and take it one baby step at a time.
The Good news is that you are in the right place. I’m here to help you! Grab a cup of coffee and some cookies and let’s chat.
This post contains affiliate links. I earn a commission from qualified purchases. Please read our Privacy policy here.
How to start a Blog
How to start a blog (mostly lifestyle and feminine) is one of the questions I get asked the most, and you can absolutely do it without needing to hire a professional.
However, setting up your first website can be intimidating and you may not be sure where to begin. That’s what I’m here for!
I’m a real active blogger who learned the hard way because I didn’t know what I was doing nor the potential for business a blog could offer. I used to say I don’t like web design up until I fell in love with blogging and started to learn all the ins and outs of codes with my mom.
As a real blogger and a designer, I know how important it is to have a professional website and my biggest goal is to help you create the website and business you dream about!
In this tutorial, I’m going to show you step-by-step how to start from scratch a WordPress blog on BigScoots, which is super easy and costs less than $5/month! That’s not that bad, is it?
What do I need to start my blog?
Let’s with some basic industry lingo in case you are not familiar with this.
I always say a blog is like a second home. As such, it has to be perfectly designed and decorated to make you feel home and to invite others, right?
But, your home has to be built somewhere. So your hosting is like your building and each apartment is a website. The better your building is, the better your home will turn out.
You also need an address for your home, that would be your domain name.
You have two options when it comes to starting a blog:
- A free platform like wordpress.com (not to confuse with wordpress.org) or Google Blogger.
- Self-Hosted platform that as I mentioned can be really inexpensive.
As someone who has been on both platform, my biggest advise is starting out as self-hosted from the beginning. Free is great but then your freedom is limited and moving out has always the risk of losing data, images, comments and most importantly, nothing is really yours.
Self-hosted gives you the autonomy and ownership of your property. Unless you break any important rule or law, Hosts won’t take it from you.
There are many Self-Hosted platforms out there but I’m teaching you here how to work on WORDPRESS Self-Hosted which is the platform I use.
How to Start a Blog the Easy way.
Step 1. Choose your Domain Name.
In my book, this is the most important step to take before anything else and it shouldn’t be taken lightly.
Your domain name is your address but most of all it’s your home’s name so you should give it some serious thought.
These are my tips to get one long-lasting domain name:
- Don’t use current situations that might change over time. This is the biggest mistake I’ve seen people making that leads them to a domain change at some point which usually has a big toll on your reputation, authority and traffic.
- Just to give you an idea of what I mean, things like “Mom and Three Kids (momandthreekids.com)” is risky because you can either have a 4th child or they just grow up.
- The domain name should represent your ultimate business goal. What your business is about but broad enough that if it changes within the same niche, it would still fit. For example, my blog’s name is “The Crafting Nook” and it’s all about crafts of course. But the last couple years I’ve been leaning towards home decor more. Since I make most of my decorating, it still fits into my blog’s name.
- Keep the name simple so it’s easy to remember.
- Once you have about 3 names that you think could the winners, repeat them out loud many times, ask people to say them out loud so you can be sure that’s how you want to be called in the blogging world for a long long time!
- Google your favorite names. Why do we need to google the name? If you want to name your new business The Pink Butterfly, but you google these words and several other businesses come up, you’re not only going to be competing for google ranking alongside those people with the same business name, you might also run into trademark issues depending on the nature of the other businesses with the same name.
- Trust me on this, you don’t want to go down that road and get a Cease & Desist letter because your business name is conflicting with someone else.
- Once you’ve decided on a name and have discovered the domain is available, it’s time to actually purchase that domain. Most Hosting services can sell you domain names.
Step 2. Choose your Hosting Provider
I have tried several hosting providers for my blog. I am currently hosting with BigScoots, which is by the best I’ve used so far and I recommend to my clients as well for a lot of reasons which I’ll explain in a bit. It doesn’t mean the other ones were bad, they were great too but These guys offer so many great features included in their packages that I couldn’t resist, especially their customer service.
Bluehost is also a great Hosting company for those just starting and with a tight budget. They have plenty of options and room to grow. So if you think BigScoots is not right for you, you might want to take a look at This Hosting Service.
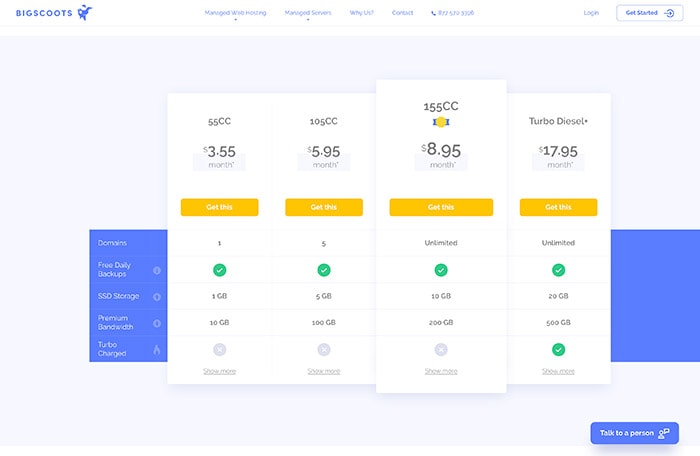
Step 3. Choose Your Hosting Plan
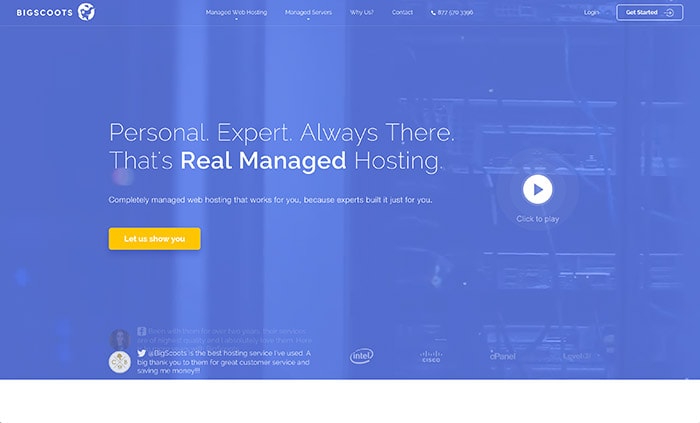
If you head on over to BigScoots Hosting Website, you’ll see two main options for your hosting package: Managed Web Hosting and Managed Servers.
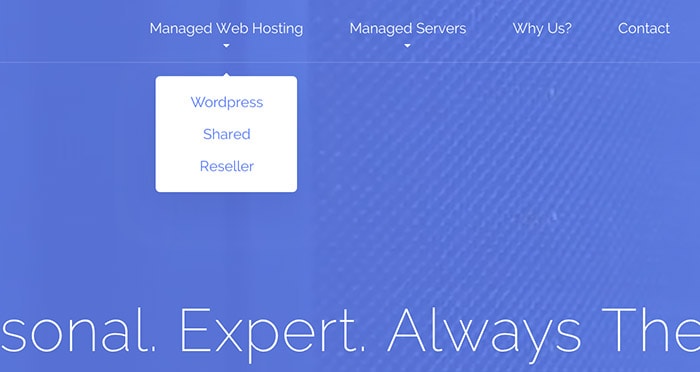
If this is your first blog, the 55cc package under Shared > Managed Web Hosting is more than enough! And it’s just under $4/month which is super affordable.
If you already have a blog and you are looking for something more robust, then the Starter Package Under WordPress > Managed Web Hosting might be a good fit.
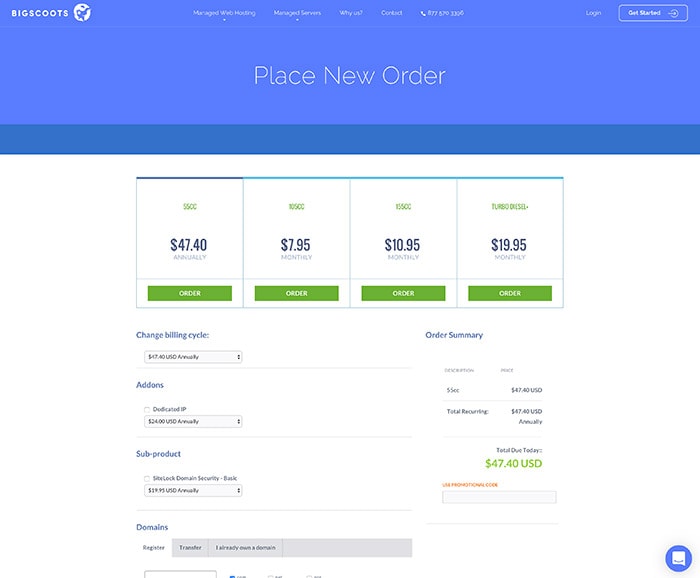
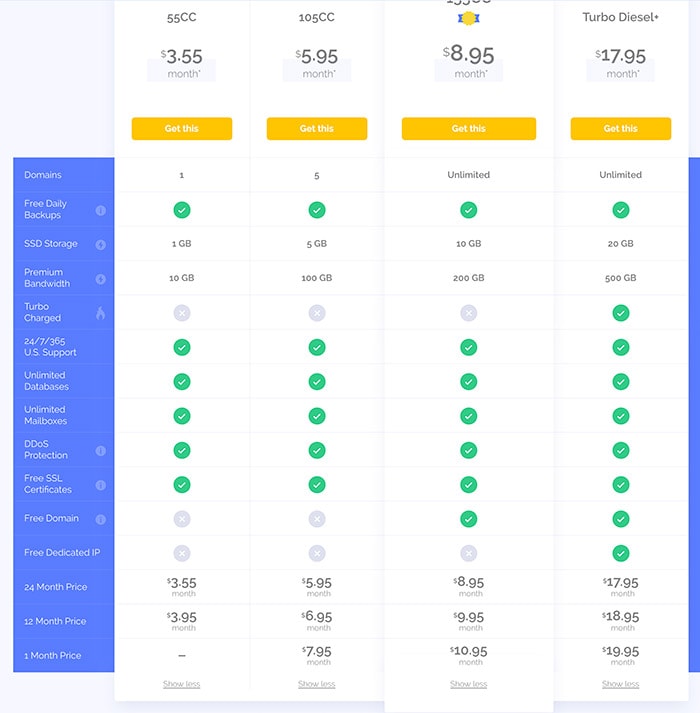
Once you have selected your plan, choose your billing cycle, Add-ons or sub-products if you want any.
Except for the 55c Package, all the other packages offer the longer the amount of time the lower the subscription price.
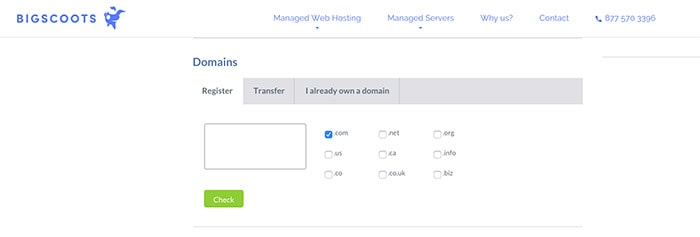
Step 4. Add your Domain Name to your Hosting Plan
If you need a domain then refer back to the list of names you chose in Step 1. Add your first choice domain name to the box that says “New Domain”. It will let you know if it’s available.
If you already have a domain name you can either just Ponting it to BigScoots or move it over altogether. To do this just use the correct tab and fill in the box that says “Transfer Domain” or I already own a domain.
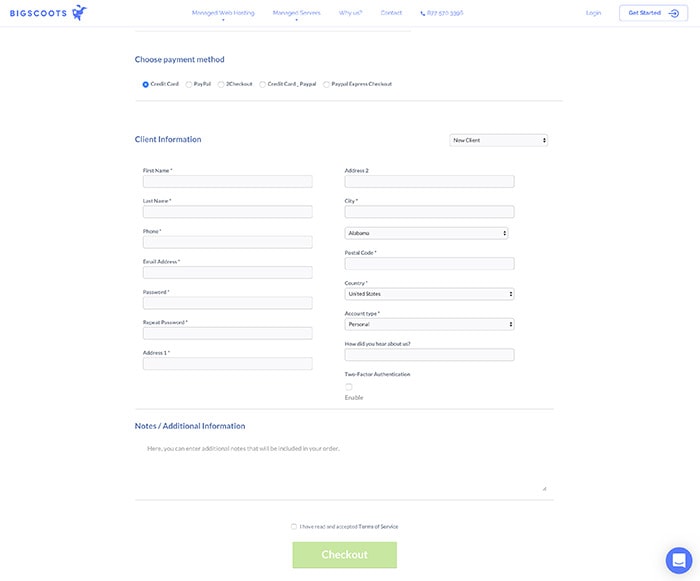
Step 5. Fill Out Personal Information and Checkout
Now it’s the time of the truth! LOL.
Just kidding…
You will need to choose your preferred Payment option and fill out the personal information. The last step on this screen is your billing information.
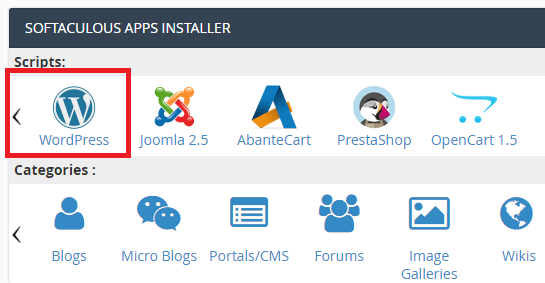
Step 6. Install WordPress
WordPress can be installed using the Softaculous application installer from the Cpanel interface.
Just login to your BigScoots account using your email and password entered during signup to login. On the left-hand menu hover over “Services” and click the service you wish to log into.
On the next screen, underneath “Product/Service” click on the specific account. Under Menu, select the option that says “Access Control Panel.” Now simply select “Click here to access Control Panel”.
Click on the WordPress icon:
Click the “Install Now” button:
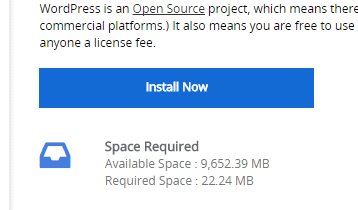
On the next screen, make sure to select all the appropriate options. If you want your WordPress install to work when going to the root of your domain(domain.com), please make sure to remove the ‘wp’ from the Install in the field:

Once completed, click the “Install” button.
You have now successfully installed WordPress, get blogging!
Immediately after you complete this step, you’ll receive an email with the link to login to your new site. It will always look like https://yourdomain.com/wp-admin. You will navigation here and use the same login credentials we used when signing up above.
Step 7. Choose a Theme.
Now, this is my favorite part! You get to play dress up and choose the best design for your needs. We offer different plans to bring life to your theme but you can always choose a pretty pre-made theme that can be customized to match your own colors and all you’ll do is insert your own content.
wordpress.org has a huge repository of free themes and you have really awesome places to purchase premium ones like Restored316, StudioMommy, BlueChic among others.
Step 8. Install your theme and Happy Blogging!
Woot! You’re almost there! You now have a WordPress site installed and set up and you’re ready to get started!
WordPress automatically has installed a default theme to your site when you create a new install, so you’ll want to upload your new theme and change what is there.
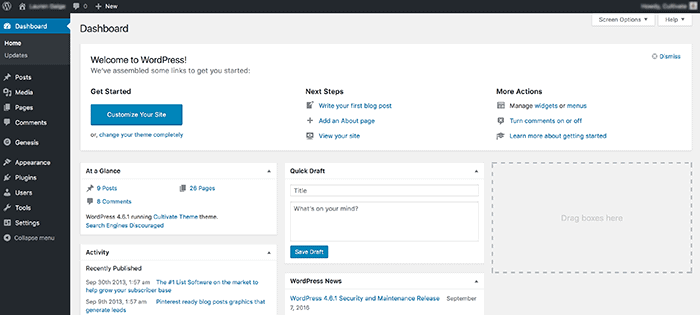
Once you find your free theme or purchase a premium one, you’re going to download a .zip file to your local computer. NOTE: Do NOT unzip these files. Then when login to your WordPress site you’re going to be on what is known as the WordPress Dashboard. You should see a column on the left-hand site that looks similar to this:
You’ll see the APPEARANCE tab on the left and when you hover over that, you’ll see THEMES as your first option.
Click on that and this is going to take you to a screen that will show you all the themes currently installed on your site. We now want to upload our own, so we want to hit the ADD NEW button in the top left of the screen and then UPLOAD THEME.
When your Theme is completely uploaded, click on activate theme.
From there, you can customize the site to your liking! Most premium themes are highly customizable and versatile. Many changes can be done through the dashboard (such as uploading a header or changing your background) and some changes, like changing your fonts, have to be done in the themes style sheet.
Premium Themes providers usually have step-by-step tutorials for each theme the sell so that you can get things set up like their demo site.
We also offer installation and customization packages for those who want to use the theme but don’t want the hazle of figuring themes out or want something a bit more custom and don’t know how to make those changes themselves.
Step 9. Create Website Content
Now it’s time to create your pages and blog posts. To write your first blog post, go to Posts » Add New in your WordPress dashboard.
Woohoo! Congratulations, it’s your launch day!
And now, finally, you have a website that works for your business. You’ve come this far and you should definitely be proud of yourself.
Building a WordPress blog or website doesn’t have to be intimidating or overwhelming. The best possible moment to get started isn’t tomorrow, or even later. It’s right now.
Don’t forget to check out these posts to help you start writing your content with the right foot!
- How to Create SEO Friendly Content for your blog
- How to Optimize Images for Websites
- Best WordPress Plugins for Blogs
- Make your Blog Beautiful
HAPPY BLOGGING!