How to Take Self Portrait Photos that Look Awesomely Professional
This quick tutorial will show you that you don’t need to break your piggy bank to have some pretty and professional-looking self portrait photos.
Having professional-looking photos is very important if you take your business seriously. It doesn’t matter if you are a beginner blogger, an online business entrepreneur or an established brand, good photos are the key.
How to Take Professional-Looking Self Portrait Photos
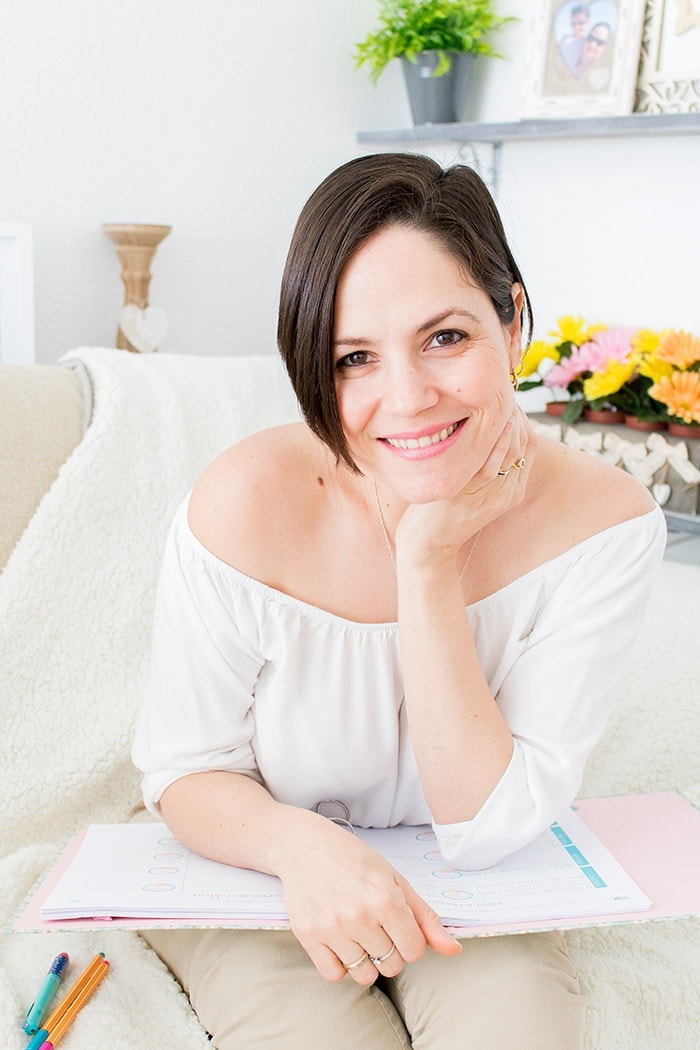
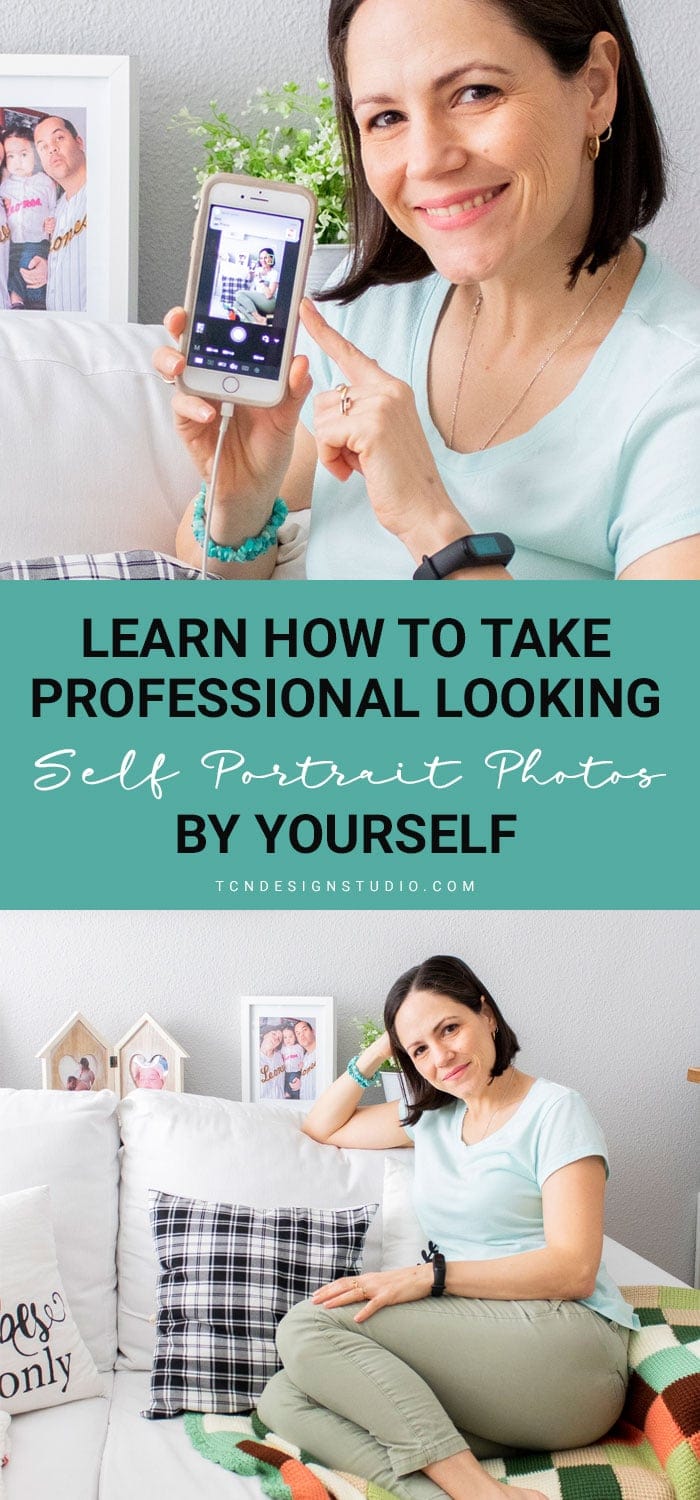
This is a question I get often and I also see it being asked in community groups: How do you take your headshots? Do you hire a photographer? The answer is no. I take them myself and 90% of the time without any help.
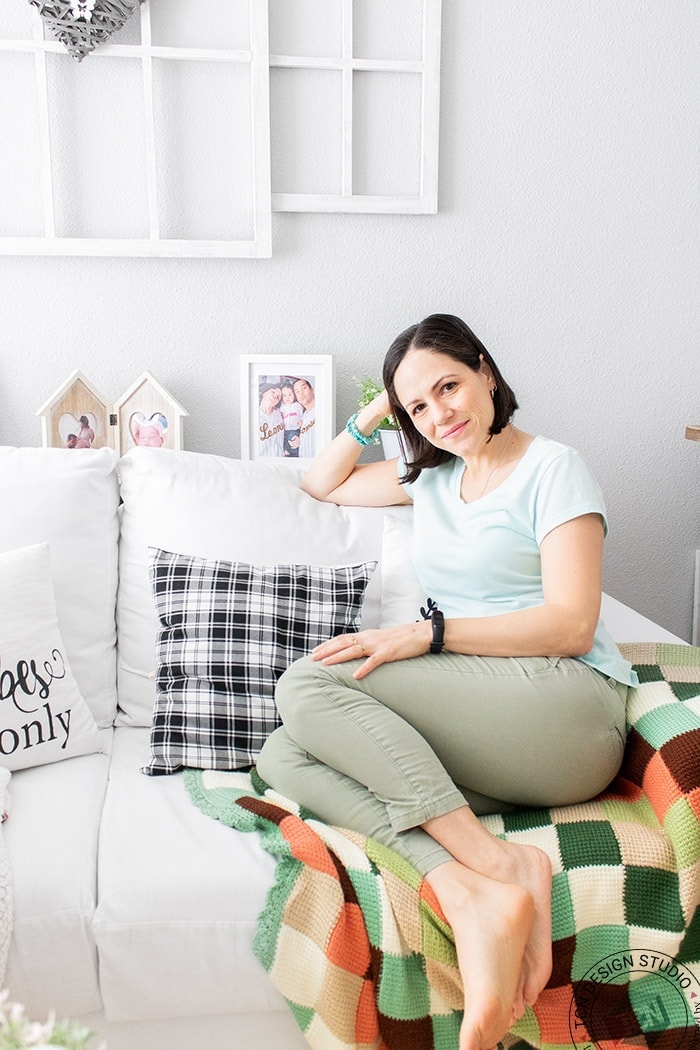
It took me a while to accept the idea that I needed to start showing up more often in my photos and videos. But being in the photos has made such a difference in terms of my own engagement.
It confirms that people connect with people and they like to put a face to who is talking to them.
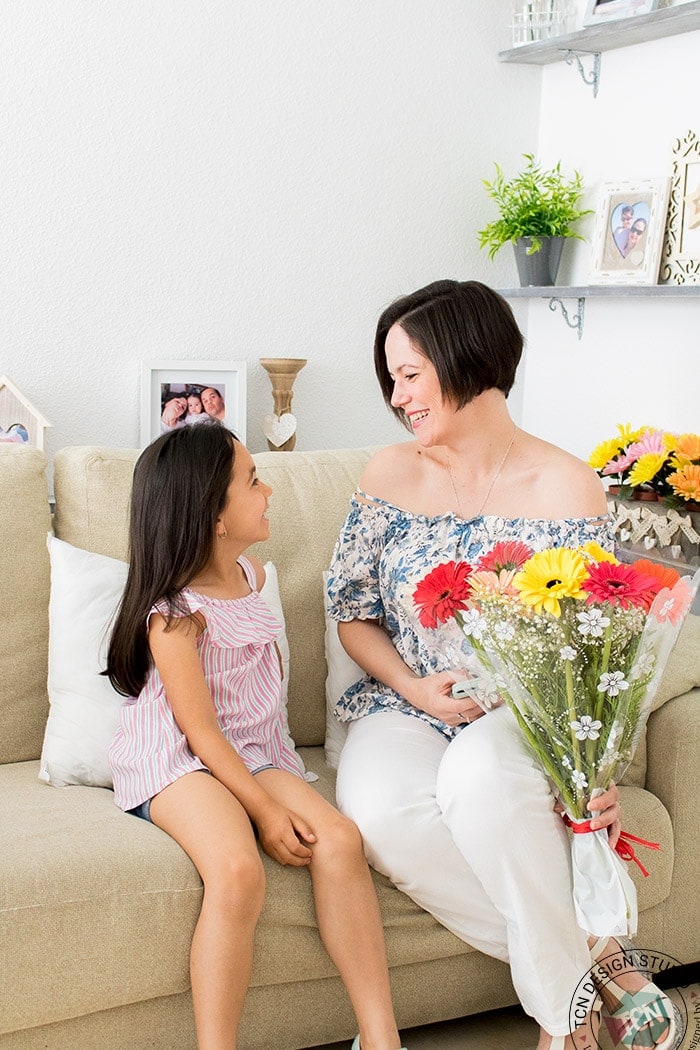
Also, if you are a mom, it’s good to mix the kids in your photos every once in a while so it’s even more personal. Let’s be honest sometimes you just want to have some photos of your kids with yourself in them.
Ok, back to business, having to hire a photographer when you are just starting can be a big investment and it can also be intimidating. I personally don’t feel natural when I have a photographer or anyone taking my business portraits.
Having your siblings, husband or friend can be an option BUT what if they are not at home the whole day? or that just don’t know how to take photos well? Or What if they just don’t like taking photos?
In my case, my husband works full day and the best hours of the day to take photos he’s at work so there’s really just one answer: take the photos yourself! So I had to figure out how.
I take over 90% of all the photos you see on my blog, Instagram feed, or any social media channel with me in them myself using a camera-tripod-remote setup (Except today that my husband helped me so you can see all my setup). And I’m here to tell you that you can absolutely do the same. You definitely don’t need an #instagramhusband to capture beautiful content of you or you and your kids.
Basics to have professional looking Self Portrait Photos
1. Always use natural light. Find the best time of the day when the light is bouncing through your windows.
2. Use a light bouncer if there’s only one source of light or you don’t have enough white wall around you.
3. Use makeup but don’t overdo it if you want to look more natural. I found that just a little BB cream, concealer, mask, eyeliner, and a natural lipstick do wonders! But of course, this is totally personal and what is important is that you feel comfortable.
4. Put attention to details. Stains in your outfit. Did you leave a pj next to the place where you are taking the shots, or at the back end of your room is there any clothes, shoes, messy spots? Around you, you should have only things related to your photos.
5. Get yourself a good remote control. While most cameras (and phones) allow you to do self-timer photos (aka click the shutter and it counts down several seconds before it starts shooting one or more photos), I think you’re way too restricted with this option when it comes to taking photos with you in them.
Pressing the shutter and then running into the frame just doesn’t allow for proper and natural pose. So do yourself a favor and invest in a remote. It’s not that expensive, to be honest. There are so many options out there that you’re bound to find something that works for your budget and your camera.
I have basic remotes for both my Nikon D80 and Canon ti6 (750D), as well as the native Canon phone app for taking photos with my Canon ti6.
All four of these options work well and it’s really about seeing what remote is compatible with your camera and going from there.
Self Portrait Photo Setups
I have basically 2 types of setup when I’m taking self portraits:
- Phone only.
- Camera-Phone app.
Smartphone Setup
The phone is the setup I rarely use but still have used it when I take overhead shots that I’m in or when I need to take photos in a park or a place where I wouldn’t take my camera.
You can use this setup if you don’t have a DSLR camera. But I have to say that if your phone is too old or if the phone’s camera isn’t very good the results might be as expected. Either way, when it comes to taking photos with the phone I urge you to use the best natural light you can.
Best light doesn’t mean splatted in your face directly. It means the best moment of the day in your house, when the light brightens the room the most. For example for me, during winter it’s 11 am to 1 pm. During Summer it’s about from 2 pm to 4 pm.
I use an iPhone app but I’m sure you can find similar apps for Android if it’s your case.
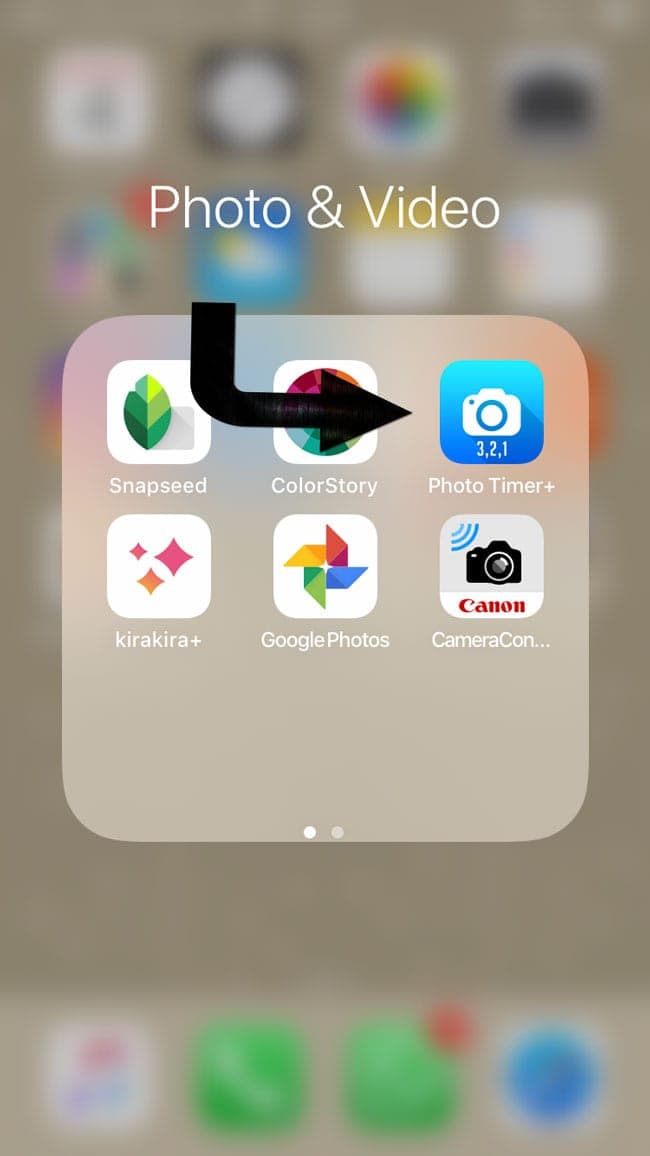
The app called Photo Timer + is the one I use. I love it because it allows you to set the number of photos to take, the interval time between shots and the sound so you know when it’s coming. You can also set a delay to start so you don’t get the first photos all awkward.
Usually, I would set 10 photos with a 10-sec delay to start and a 3-5 sec interval. I set “sound to count so I know exactly when the shot will be taken. it’s perfect for self portrait photos because you can change poses and get ready!
I recommend using the rear cameras for this setup because usually, those have the best quality compared to front/selfie camera.
Since you can’t see yourself in this setup, what I like to do is set something in the place I should be, like a pillow or something like that. That way I know exactly where I need to sit so I will actually show up LOL.
Once it’s finished all the photos go to your gallery. And you can discard the ones that did not work.
As I said, I don’t use this setup unless it’s for headshots where I want to be in them. What I do is tape a piece of cardboard to the roof making sure the phone can slide in and leave the camera out.
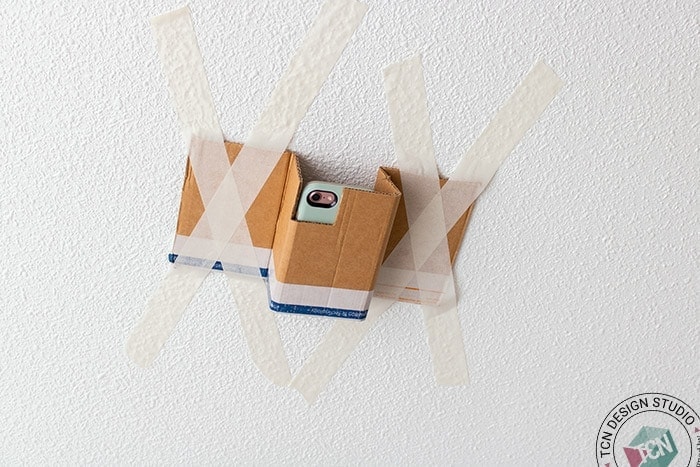
I set the delay to about 5 sec click shoot, then slide the phone there and sit on the bed or sofa and wait for it. It’s super fun.
Camera-Phone app Setup.
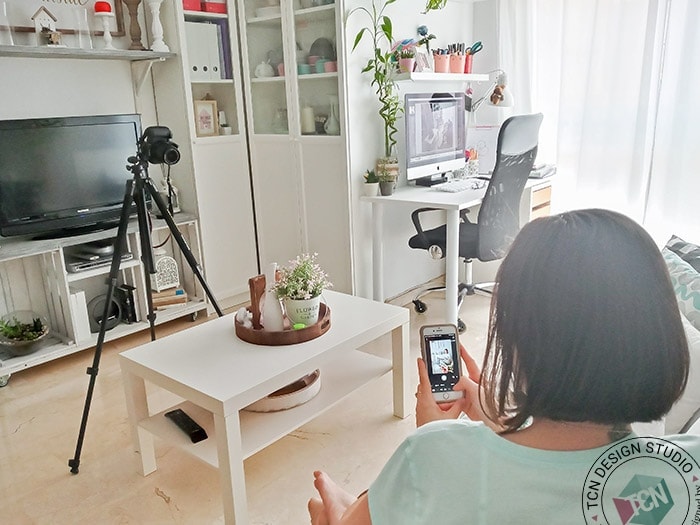
*I apologize in advance because for the purpose of this tutorial I had to take all photos with my husband’s mobile phone because I needed both Camera and my phone. So the quality of some of the photos is not my usual.
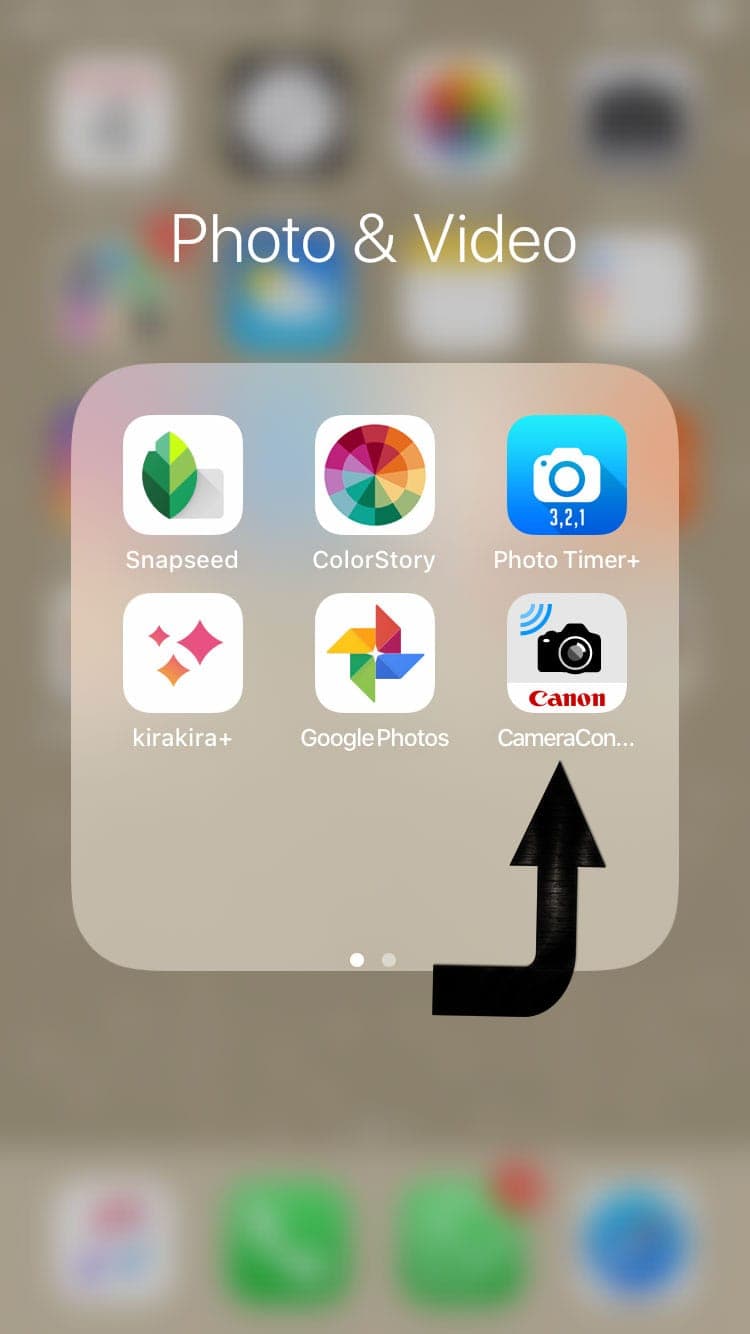
As I mentioned a few lines above, I have a native Canon-phone app for taking photos with my Canon ti6 (750D). If you happen to have a Canon fairly new (built-in wi-fi) and an iPhone you can just find Canon Camera Connect in the Apple Store. If you have Android and another camera brand, I’m pretty sure there might be an app for it too.
Of all the remote options I mentioned, I love this one the best because it allows me to see a live preview of the shot while I’m taking self portrait photos which is great for positioning yourself within the shot.
Depending on where I decide to take the shots I would put a light bouncer against the light source but next to me as close as I can but that won’t mess with the photo. If your room is bright and has more than one source of light you might be ready to go.
So when I decide where I’m going to take the shots, I set my camera on my tripod and start the connection between the camera and the phone, it’s pretty straight forward and the apps walks you through the process.
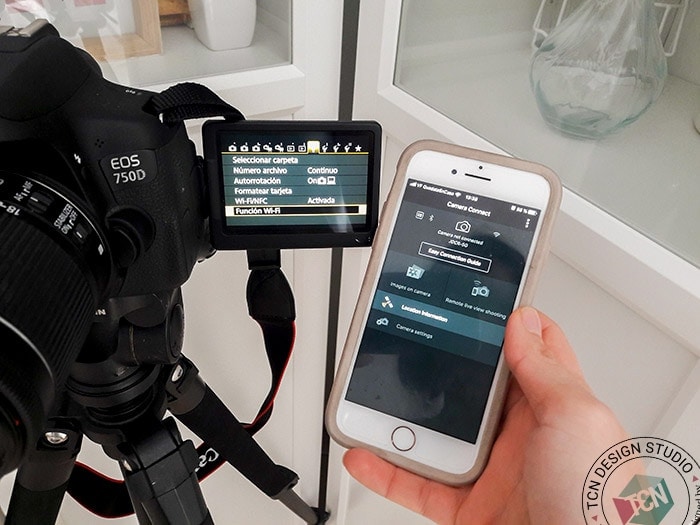
Camera and iPhone app connect through wi-fi. So you will need to connect your iPhone to the canon wi-fi signal you will find on your wi-fi settings.
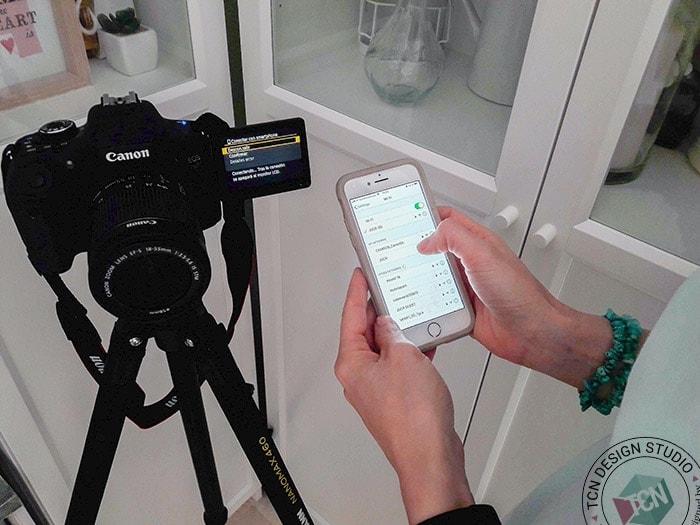
As soon as they connect, the camera display shuts down and the image appears on the phone app screen.
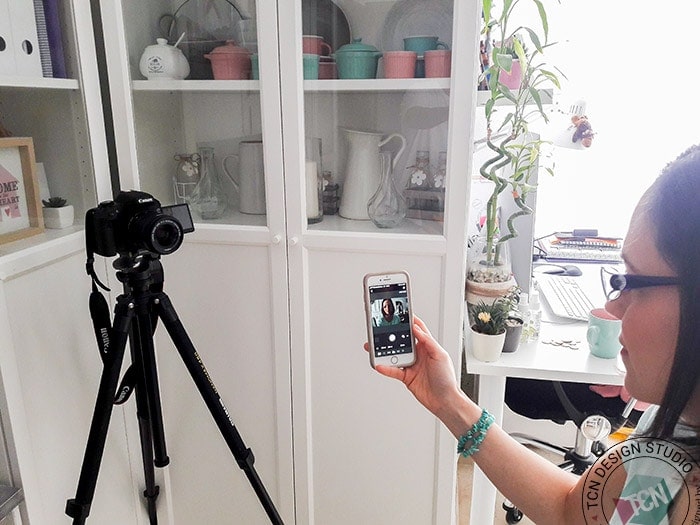
What I love the most about this app is that except for the zoom, you can control pretty much everything you need from the app. ISO, aperture, shooting-speed and more. So if there’s any change in the light you can adjust from the phone and keep taking your amazing shots.
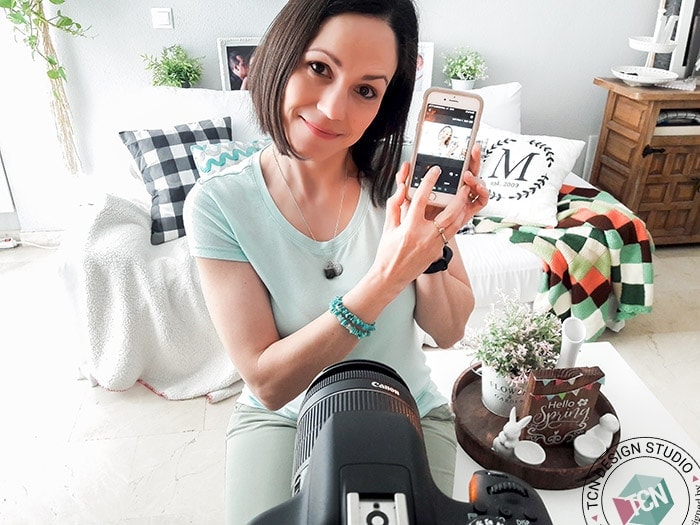
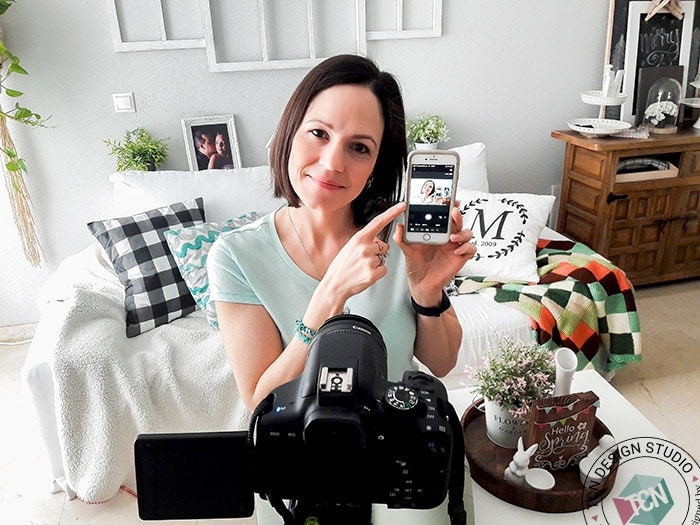
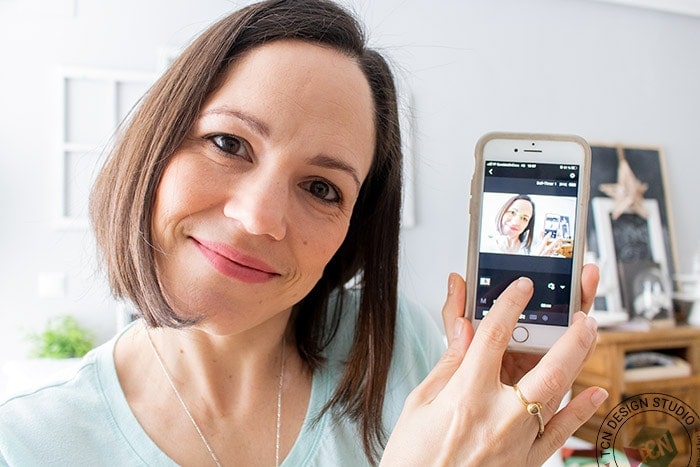
The funny thing that keeps me giggling is that while I see myself on the phone and get ready for the shot, I just hide or drop the phone on my lap or behind a pillow LOL.

Of course, you need to adjust the setup to your space and needs, there no perfect formula and no setting fits all. So you just need to add a little creativity and your personal touch to have amazing photos!

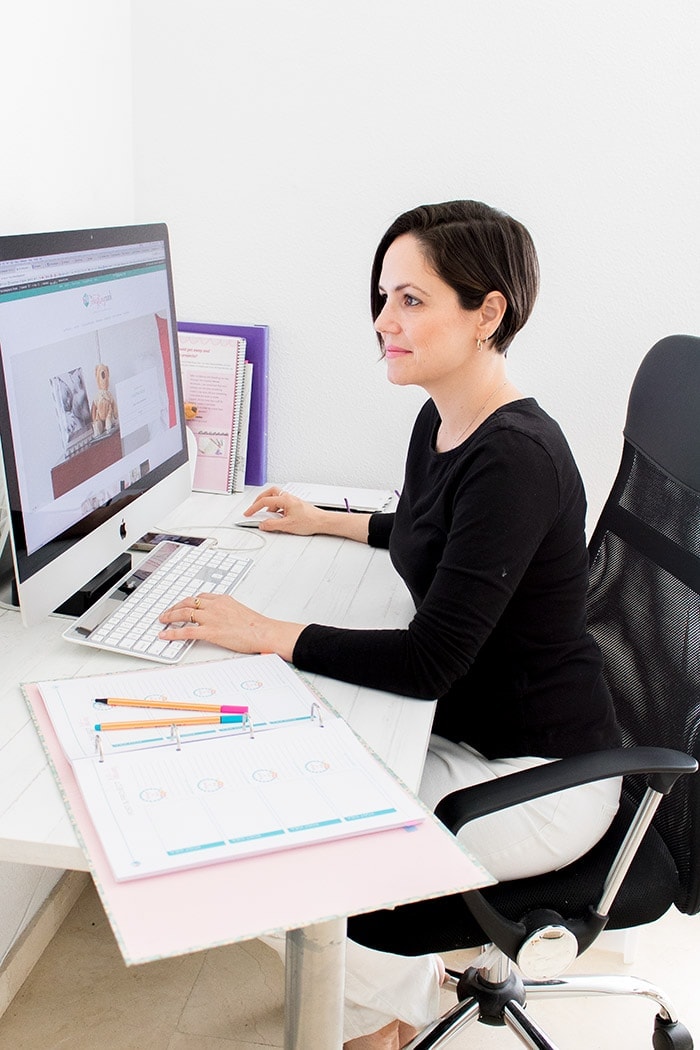
Once I think I’m done I take my self portrait photos to my pc and edit them in Lightroom or Photoshop. If the light was good I just have to adjust a few things but besides a good camera editing is the next most important part of a professional-looking photo.

So there you go, not that hard is it?
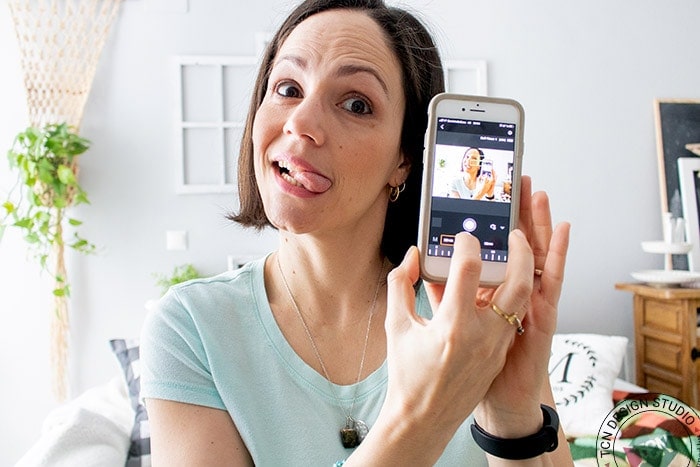
I’ll tell you something else. Another thing I love the most about taking my own self portraits is that I feel a lot more comfortable and relaxed. I can be a lot more creative and allow myself to just be.
Do you have any other setup or strategy to take your own photos? Let me know in comments, I might try it!
Hope these 2 setups can help you achieve awesome portrait photos!
Thinking about Branding and Web Design upgrades?
I can help you, let’s Talk!
If you found this tutorial useful, don’t forget to PIN and share it with friends!
Want more blogging-related content? You might love these too:


I happen to need a new headshot, so this is good timing! I’ll have to try your tips – I no longer have a photographer living nearby!