How to Write Helpful Tutorial and Recipe Blog Posts
Writing a good tutorial or recipe post takes more than sharing a list of steps and adding a few pretty photos. Your readers need clear instructions, helpful details, and enough information to successfully make what you’re sharing.
After more than 13 years of blogging, I’ve learned how important it is to think about the person following those instructions. What might seem obvious to someone who has made a project or recipe dozens of times may be completely new to someone trying it for the first time.
In this guide, I’ll walk you through how to plan, write, and structure tutorial and recipe blog posts that are genuinely useful, easy to follow, and clear enough for readers and search engines to understand.

Start With What Your Reader Is Trying to Accomplish
Before you start writing, think about why someone would search for your topic in the first place.
This is where understanding your audience and search intent comes in.
Search intent is simply the reason behind someone’s search. When someone types something into Google, they have a question, a problem, or something they want to accomplish.
For example, someone searching for “how to make an envelope pillow cover” probably wants to learn how to sew one. They may also need to know how much fabric to buy, how to calculate the measurements, or how to make one without installing a zipper.
Someone searching for “easy chocolate coconut macaroons” likely wants a recipe with ingredients, measurements, baking instructions, and a clear idea of how the finished cookies should look.
Understanding that purpose helps you decide what information belongs in your post.
Know who you’re writing for
The better you understand your readers, the easier it becomes to create content they’ll find useful.
One way to do this is by developing an ideal reader persona. This is a profile representing the type of person you want to reach, including her interests, goals, challenges, and experience level.
For example, Sarah might be a busy mom who loves crafting but prefers simple, budget-friendly projects. Emma might enjoy cooking homemade meals for her family but needs recipes that don’t require hours in the kitchen.
These profiles can help you think about what your audience values and what kind of information would be useful to them. Just remember that they’re guides, not strict rules. Your actual readers will have different backgrounds, abilities, and needs.
I recommend basing your personas on what you know about your audience rather than simply making up details. Reader comments, emails, surveys, and audience research can all help you build a more realistic picture.
If you haven’t done this yet, my guide on how to create a blog target audience profile walks you through the process.
Once you understand your general audience, think about the person searching for the specific tutorial or recipe you’re writing.
A beginner sewing her first pillow cover may need more explanation than someone who has been sewing for years. Someone searching for a quick dinner probably wants straightforward instructions, realistic cooking times, and ingredients that are easy to find.
Understanding those needs will help you decide how much detail to include and how to explain the process clearly.
Understand the task behind the search
When planning a post, I recommend asking yourself a few questions:
- What does the reader want to make, learn, or solve?
- What information will she need to get started?
- What parts of the process might be confusing?
- What mistakes or problems might she encounter?
- What would help her feel confident enough to try it?
These questions are especially useful for tutorials and recipes because the reader isn’t simply looking for information. She wants to use it.
A successful post should help her move from finding your article to completing the task.
Choose a Topic and Angle Worth Writing About
Once you understand your audience, the next step is deciding what to write and how to approach it.
You don’t necessarily need a completely original idea.
There are hundreds of ways to make a wreath, sew a pillow cover, or bake chocolate chip cookies. People still search for these topics because they’re looking for an approach that fits their needs.
What makes your article useful is how well you explain the topic and what you can contribute.
Find ideas in real questions and problems
Some good sources of blog post ideas include:
- Questions readers leave in your comments or send by email.
- Problems you’ve encountered while making a project or recipe.
- Topics your audience frequently asks about.
- Related questions that come up when researching a subject.
- Seasonal projects, recipes, and occasions that fit your niche.
- Existing tutorials that could benefit from a clearer explanation or different approach.
You can also use keyword research tools such as Keysearch, Ahrefs, Semrush, or Google Keyword Planner to understand how people search for a topic.
Keyword research can help you identify the language readers use, explore related questions, and understand whether there’s search demand for an idea.
But don’t let a keyword tool make every writing decision for you.
A topic with search volume isn’t automatically a good fit for your blog, and a keyword with low reported volume isn’t automatically worthless.
Consider relevance, your audience’s needs, and what you can contribute.
Look at what’s already available
Before writing, search for your topic and examine some of the results.
Pay attention to what those pages offer and what readers would expect to find.
For example, if you’re writing a beginner’s sewing tutorial, notice whether the results focus on hand sewing, sewing machines, specific fabrics, or particular techniques.
Those differences matter because two tutorials can cover a similar project while answering different needs.
Look for opportunities to make your version more helpful.
Maybe existing articles skip an important measurement, explain a difficult technique poorly, or don’t show what a particular step should look like.
You don’t need to copy the structure of the top-ranking pages or include every section your competitors have.
Use your research to understand the topic and decide how your article can serve your reader.
Give your post a clear angle
A broad subject often becomes much easier to write when you define what makes your approach useful.
For example:
“How to Make a Pillow Cover” is a broad topic.
“How to Make an Envelope Pillow Cover Without a Zipper” tells the reader more about the method.
“Easy Chocolate Cake” is broad.
“One-Bowl Chocolate Cake Without a Mixer” communicates a particular approach and convenience.
The more clearly you understand your angle, the easier it becomes to decide what belongs in your article.
My recommendation: Choose a topic you can explain well, define the specific result you’re helping the reader achieve, and build the post around that.
Decide What the Reader Needs Before You Start Writing
One mistake that’s easy to make is starting with a general blog post template and filling every section because it’s there.
But a tutorial about making paper flowers doesn’t need the same supporting information as a recipe for homemade bread.
Before writing, identify the information someone would reasonably need to complete the project or recipe.
This gives your post a purpose and helps you avoid unnecessary sections.
For DIY and craft tutorials
Depending on the project, useful information may include:
- Materials and tools needed.
- Measurements, dimensions, and quantities.
- Preparation before starting.
- Step-by-step instructions.
- Helpful photos of important stages.
- Drying, curing, or waiting times.
- Common problems and how to avoid them.
- Variations or alternative materials.
- Care, storage, or display suggestions.
For example, if you’re teaching someone to make a fabric pillow cover, fabric measurements and seam allowances are important.
If you’re sharing a painted wooden ornament, drying time and paint compatibility might matter more.
You don’t need to include everything on the list. Include what the project requires.
For recipe posts
A recipe usually needs:
- Ingredients with accurate quantities.
- Necessary equipment or preparation.
- Clear cooking or baking instructions.
- Temperatures and cooking times.
- Visual or sensory clues for checking doneness.
- Useful substitutions or variations.
- Storage and reheating instructions when relevant.
- Troubleshooting for common problems.
For example, a cookie recipe may benefit from explaining how the dough should look before baking and how to recognize when the cookies are ready to come out of the oven.
A soup recipe might need clearer guidance about consistency, seasoning adjustments, or blending.
These details help your readers make decisions during the process instead of guessing.
Don’t add sections just to make the article longer
Not every project needs an FAQ, a troubleshooting guide, or ten different variations.
If something genuinely helps your reader complete the task, include it.
If you’re adding it because a competitor has it or an SEO tool recommends a longer article, reconsider.
There’s no universal word count that makes a tutorial or recipe useful.
Some projects need detailed explanations. Others can be explained clearly in a few simple steps.
The amount of content should match the complexity of what you’re teaching.
Structure Your Blog Post Around the Task
A good structure makes your content easier to understand and easier to follow while someone is working.
The goal is to present information in a logical order, from understanding what they’re making to completing the project or recipe.
Personally, I don’t always start with a detailed outline. When I’m writing my own craft tutorials, the structure usually comes together as I go through my project photos and write the instructions.
Working through the process visually helps me organize the steps in the order someone would actually follow them. It also makes it easier to see where a little extra explanation might be helpful.
Start with a clear introduction
Your introduction should quickly confirm that the reader has found the right article.
Tell her what she’s going to make or learn and mention a relevant detail about the method, result, or experience.
For example, a sewing tutorial introduction might explain that the project creates a removable pillow cover using a simple envelope closure, so there’s no zipper to install.
That’s useful information right away.
You can also include a short personal story if it adds context.
Maybe the project was inspired by something in your home, a seasonal decorating idea, or a technique you wanted to try.
Personal stories can make your writing more relatable, but they shouldn’t delay the information someone came to find.
Organize the supporting information logically
After the introduction, give readers the information they need before beginning.
For a tutorial, that often means materials, tools, dimensions, or important preparation.
For a recipe, it may include ingredient information, preparation tips, or equipment notes.
Then move into the instructions.
Supporting sections such as troubleshooting, substitutions, storage, or variations can follow where they make the most sense.
You don’t need to follow exactly the same order for every article.
For example, an important warning about a material may belong before the instructions, not in a troubleshooting section at the end.
Think about when the reader needs each piece of information.
Use headings that tell readers what they’ll find
Headings help organize your content and allow readers to move between sections.
Instead of vague headings such as “Helpful Information” or “More Things to Know,” use descriptive wording.
For example:
- How Much Fabric Do You Need?
- How to Sew the Envelope Closure
- How to Tell When the Cookies Are Done
- How to Store Leftover Cake
- Why Your Dough May Be Too Sticky
Use H2 headings for major sections and H3 headings when a section needs smaller parts.
You don’t need to turn every paragraph or individual instruction into a heading.
If your steps are already organized into a clear numbered list, additional headings may only create clutter.
The best structure is the one that helps your reader follow the process without getting lost.
Write Instructions Someone Can Follow Without Guessing
Your instructions are the most important part of a tutorial or recipe.
A beautiful finished photo might convince someone to try your project, but the instructions determine whether she can make it successfully.
This is where clarity and specific details make a huge difference.
Use simple, direct language
Tell readers exactly what they need to do.
For example, instead of:
“Once your materials are ready, you’ll want to begin putting everything together.”
Write:
“Place the two fabric pieces right sides together and pin around the edges.”
The second instruction tells someone what action to take.
Use familiar words when possible, and explain technical terms when they’re important.
You don’t need to avoid proper sewing, crafting, or cooking terminology. Your readers may need to learn those terms to follow the project correctly.
Just don’t assume everyone knows what they mean.
Give specific measurements and instructions
Vague instructions leave room for mistakes.
For example:
“Cut the fabric a little bigger than the pillow.”
That’s difficult for a beginner to follow.
A more helpful instruction would provide the exact dimensions or explain how to calculate them based on the pillow size and seam allowance.
The same principle applies to recipes.
Instead of:
“Bake until ready.”
Write something like:
“Bake for 10–12 minutes, or until the edges are lightly golden.”
Of course, the measurements, times, and visual clues need to match your actual project or tested recipe.
Specificity helps readers understand what to do, but the information also needs to be accurate.
Explain what things should look or feel like
Sometimes measurements and times aren’t enough.
Ovens vary. Materials behave differently. Room temperature and humidity may affect certain projects.
That’s why visual and sensory clues can be so helpful.
For recipes, you might describe:
- How thick or thin a batter should be.
- Whether the dough should feel sticky or smooth.
- How the edges should look when baked.
- What color or texture indicates doneness.
For craft projects, explain things such as:
- How tightly a knot should be pulled.
- How far from the edge to place a stitch.
- What the finished fold should look like.
- When glue or paint is dry enough for the next step.
These small explanations help readers check their progress and recognize when something needs adjusting.
Keep the instructions in the correct order
It sounds obvious, but the order of your instructions can make or break a tutorial.
Don’t ask someone to glue pieces together and then explain that one of those pieces needed to be painted first.
For recipes, mention necessary preparation before the reader reaches the step that requires it.
If ingredients need to reach room temperature, dough needs to chill, or an oven needs to preheat, place that information where it helps the cooking process.
Try to follow the instructions from the perspective of someone who hasn’t made the project before.
Can she complete each step using what you’ve already explained?
If she needs to go backward because something important was missing, the instructions may need reorganizing.
Answer the Questions That Come Up While Someone Is Making It
One of the most useful things you can do when writing a tutorial or recipe is anticipate where someone might run into problems.
Even clear instructions can’t prevent every question.
Some readers will be using different materials, equipment, or ingredients. Others may be trying a technique for the very first time.
Think about the places where someone might stop and wonder what to do next.
I’ve noticed this occasionally when working on client blogs, especially those that have been around for more than ten years. Some older tutorials and recipes contain plenty of useful information, but certain instructions or details are missing.
Sometimes, when you’ve been making something for years, you forget that a beginner might not know what seems obvious to you.
That’s one of the things worth looking for when reviewing older content. The original post doesn’t necessarily need a complete rewrite. Sometimes it just needs a clearer explanation, an additional step, or a detail that helps the reader understand the process.
Explain common problems
For a DIY project, a reader might wonder:
- Why isn’t my fabric lining up?
- What should I do if the glue isn’t holding?
- Can I use a different material?
- How can I fix a crooked seam?
For a recipe, questions might include:
- Why is my dough too dry?
- Can I prepare this ahead of time?
- How do I know when it’s fully cooked?
- Why did my cookies spread too much?
If you know the answer and the problem is reasonably likely to happen, include the explanation.
Sometimes one sentence within the instructions is enough.
Other times, a short troubleshooting section makes more sense.
Be careful with substitutions
Substitutions are especially helpful in recipe posts, but they need to be handled responsibly.
Two ingredients may look similar and behave very differently during baking.
For example, replacing one type of flour with another can affect texture, moisture, structure, and cooking time.
If you’ve tested a substitution, you can explain the result.
If you haven’t, don’t present it as guaranteed to work.
The same applies to crafts.
A different type of glue, paint, fabric, or cutting tool may change how a project turns out.
You can explain possible alternatives when you have reliable information, but readers should understand any important limitations.
Include variations when they offer something useful
Variations can make a post more helpful, especially for creative projects.
- A wreath tutorial might include different seasonal color combinations.
- A sewing tutorial could explain how to adjust dimensions for another size.
- A recipe might include a tested flavor variation or a different finishing option.
But don’t manufacture variations just to make the post appear more complete.
Include ideas that genuinely fit the project and that you can explain accurately.
Use First-Hand Experience Where It Helps
One of the biggest advantages of writing about something you’ve personally made is that you understand more than the finished result.
You know the process.
You can explain which steps required extra attention, what you noticed while working, and what someone else should watch for.
Those details can be much more helpful than generic instructions.

If you’ve tested a recipe or completed a tutorial, think about what happened along the way.
Did something take longer than expected?
Did you change your method?
Was there a particular step where precision mattered?
Did a certain tool or material make the process easier?
These are all opportunities to add useful information.
For example, telling readers that a particular fabric tends to fray and explaining how to handle the edges may prevent a frustrating mistake.
For a recipe, explaining that the cookies continue to firm up as they cool can help someone avoid overbaking them.
Information like this helps readers understand the process rather than simply copy it.
Be honest about what you’ve tested
This is important.
You don’t need to claim that you’ve tested every possible variation to write a helpful tutorial or recipe.
You also don’t need to pretend something worked perfectly the first time.
If you’ve only tested one method, explain that method well.
If you’re suggesting an alternative based on reliable information but haven’t tried it personally, make that distinction clear.
Your readers don’t need exaggerated claims about how much experience went into a post.
They need accurate information they can trust.
Add something beyond what’s already available
Originality doesn’t always mean inventing a new project or recipe.
Sometimes your contribution is a clearer explanation, a more practical method, better photographs, or a solution to a problem other tutorials overlook.
You may have a different approach because of the tools you use, your experience level, or the needs of your particular audience.
That’s valuable when it helps someone.
Ask yourself:
“What can I contribute that makes this article more useful than simply repeating the same instructions already available elsewhere?”
The answer should come from your actual knowledge, work, research, or experience.
Use Photos and Video to Explain, Not Decorate
Photos are especially important for tutorials and recipes because they can communicate details that are difficult to explain with words alone.
But more photos don’t automatically make a better post.
A photo should help the reader understand something.
Start with the finished result
A good finished-project photo gives readers a clear idea of what they’re making.
It can help them decide whether the project or recipe matches what they’re looking for.
For a craft, show the finished item clearly enough that readers can understand its shape, design, and important details.
For a recipe, show what the finished dish looks like, including the texture or interior when relevant.
You can absolutely make your photography beautiful. Just make sure the result is easy to see.
Photograph the steps where readers need help
Process photos can be particularly useful for showing:
- How materials should be positioned.
- Where to cut, fold, pin, or sew.
- How ingredients should look after mixing.
- Changes in texture or consistency.
- How to assemble multiple pieces.
- What a difficult or unfamiliar step looks like.
You don’t necessarily need a photo of every small action.
For example, a photograph of someone picking up a pair of scissors may not help much.
A close-up showing exactly where to cut a complicated shape probably will.
Think about the moments when your reader might ask, “Does mine look right?”
Those are often the moments worth photographing.
My own process has changed quite a bit over the years. I used to photograph almost every step of a project and then choose the most useful images when writing the tutorial.
These days, I film my tutorials in 4K instead. This allows me to extract high-quality frames from the video for my step-by-step instructions. It’s much more practical for my workflow, and I can choose the exact moment that best explains each step.
For my finished-project photos, I still use my DSLR camera and shoot in RAW. Modern smartphones can take excellent photos, and many support RAW capture too, so you certainly don’t need a professional camera to create good blog content.
I already own my DSLR, and I appreciate the image quality, sensor capabilities, and control it gives me, especially when photographing the finished projects.
Keep photos consistent with your instructions
Your photos and written instructions should match.
If your instructions describe folding a piece of fabric in one direction, don’t show the opposite in the corresponding photo.
If you’re demonstrating a particular ingredient quantity or method, avoid using process photos from a different version that could confuse readers.
This is especially important when updating older tutorials or recipes.
If you change the method, make sure your photos still accurately represent the process.
Use video when movement matters
Some techniques are easier to demonstrate in motion.
For example, tying a particular knot, working with a sewing-machine attachment, or shaping dough may be easier to understand through a short video.
Video can complement your written instructions, but readers should still be able to follow the essential steps without being forced to watch one.
Not everyone wants to watch a video while cooking or crafting, and some readers may have accessibility, connection, or device limitations.
Give people a practical way to follow the project.
Write Naturally and Make Your Post Easy to Scan
You don’t need to sound like a textbook to teach something well.
Your writing can be warm, friendly, funny, or conversational while still being clear and accurate.
In fact, your personality can make an article more enjoyable to read, especially when you’re sharing a project you genuinely enjoy.
The important part is making sure the writing helps rather than distracts.
Write like you’re explaining the process to someone
Imagine explaining the project to a friend who has never tried it.
You would probably use direct language, answer questions as they come up, and explain difficult steps without making a big production out of them.
That’s a good approach to writing instructions.
Use “you” naturally, and use “I” when sharing your experience, preferences, or decisions.
You can include humor and personal details when they fit.
Just make sure readers can still find the information they need without searching through unrelated paragraphs.
Make the content easy to follow on a screen
Most readers aren’t going to study every paragraph carefully before getting started.
They may scroll through the post, gather their materials, and return to specific steps while working.
Help them by using:
- Descriptive headings.
- Relatively short paragraphs.
- Numbered steps for sequential instructions.
- Bullet points for materials, options, or quick references.
- Clear labels for important notes.
- Enough spacing to distinguish different parts of the process.
You don’t have to turn every sentence into a bullet point.
The idea is to make the information comfortable to read and easy to find.
Use natural wording instead of forcing keywords
Search engines need to understand your topic, but you don’t need to repeat the same phrase in every heading or paragraph.
If you’re writing about an envelope pillow cover, you’ll naturally mention fabric, measurements, seams, sewing, and the envelope closure.
Those details belong in the article because they’re part of the process. Use the words that best explain what you’re teaching.
Don’t make an instruction awkward just to repeat an exact search phrase. Your content should sound natural to the people reading it.
Know When Your Blog Post Is Finished
It’s easy to keep adding more information to an article, especially when you’re trying to make it thorough.
But longer isn’t automatically better.
A detailed sewing tutorial may need several explanations and photos to help a beginner understand the process.
A simple recipe with three ingredients may not need a long introduction, multiple sections, or an extensive FAQ.
The important question is whether your article gives readers enough information to accomplish what they came for.
Before moving on to optimization, read through the post as if you’re trying the project for the first time.
Check that:
- The result and purpose are clear.
- Materials or ingredients are complete.
- Instructions follow a logical order.
- Measurements, times, and other important details are accurate.
- Potentially confusing steps are explained.
- Photos support the instructions.
- Common problems are addressed when necessary.
- Every section contributes something useful.
Then look for unnecessary repetition.
Have you explained the same technique three times?
Did you add a paragraph that doesn’t help the reader understand or complete the project?
Is there a section that exists only because you thought every blog post needed one? Remove what isn’t helping.
A complete article doesn’t have to cover every possible question about an entire subject. t needs to cover the task it promises to teach.
Before You Publish, Check the SEO Details
Once your content is written, organized, and genuinely useful, it’s time to review the SEO details.
This includes checking your title, URL, search appearance, images, internal links, and other elements that help readers and search engines understand your page.
I prefer treating this as a separate step because it’s much easier to make good optimization decisions when the actual content is already solid.
I’ve put together a Blog Post SEO Checklist: What to Check Before You Publish (+ Free Printable) that walks you through that process.
It covers the practical checks without arbitrary keyword rules or the pressure to make every SEO plugin indicator turn green.
My Final Thoughts
A helpful tutorial or recipe should make someone feel confident enough to try the project and give her the information she needs to finish it.
That starts with understanding what she’s trying to accomplish, organizing the instructions around the task, and explaining the details that might otherwise leave her guessing.
Your knowledge, experience, and personality all have a place in the article. Use them to help your readers understand the process, avoid mistakes, and enjoy making something.
And when the writing is finished, give it a proper SEO check, publish it, and let your content do its job.
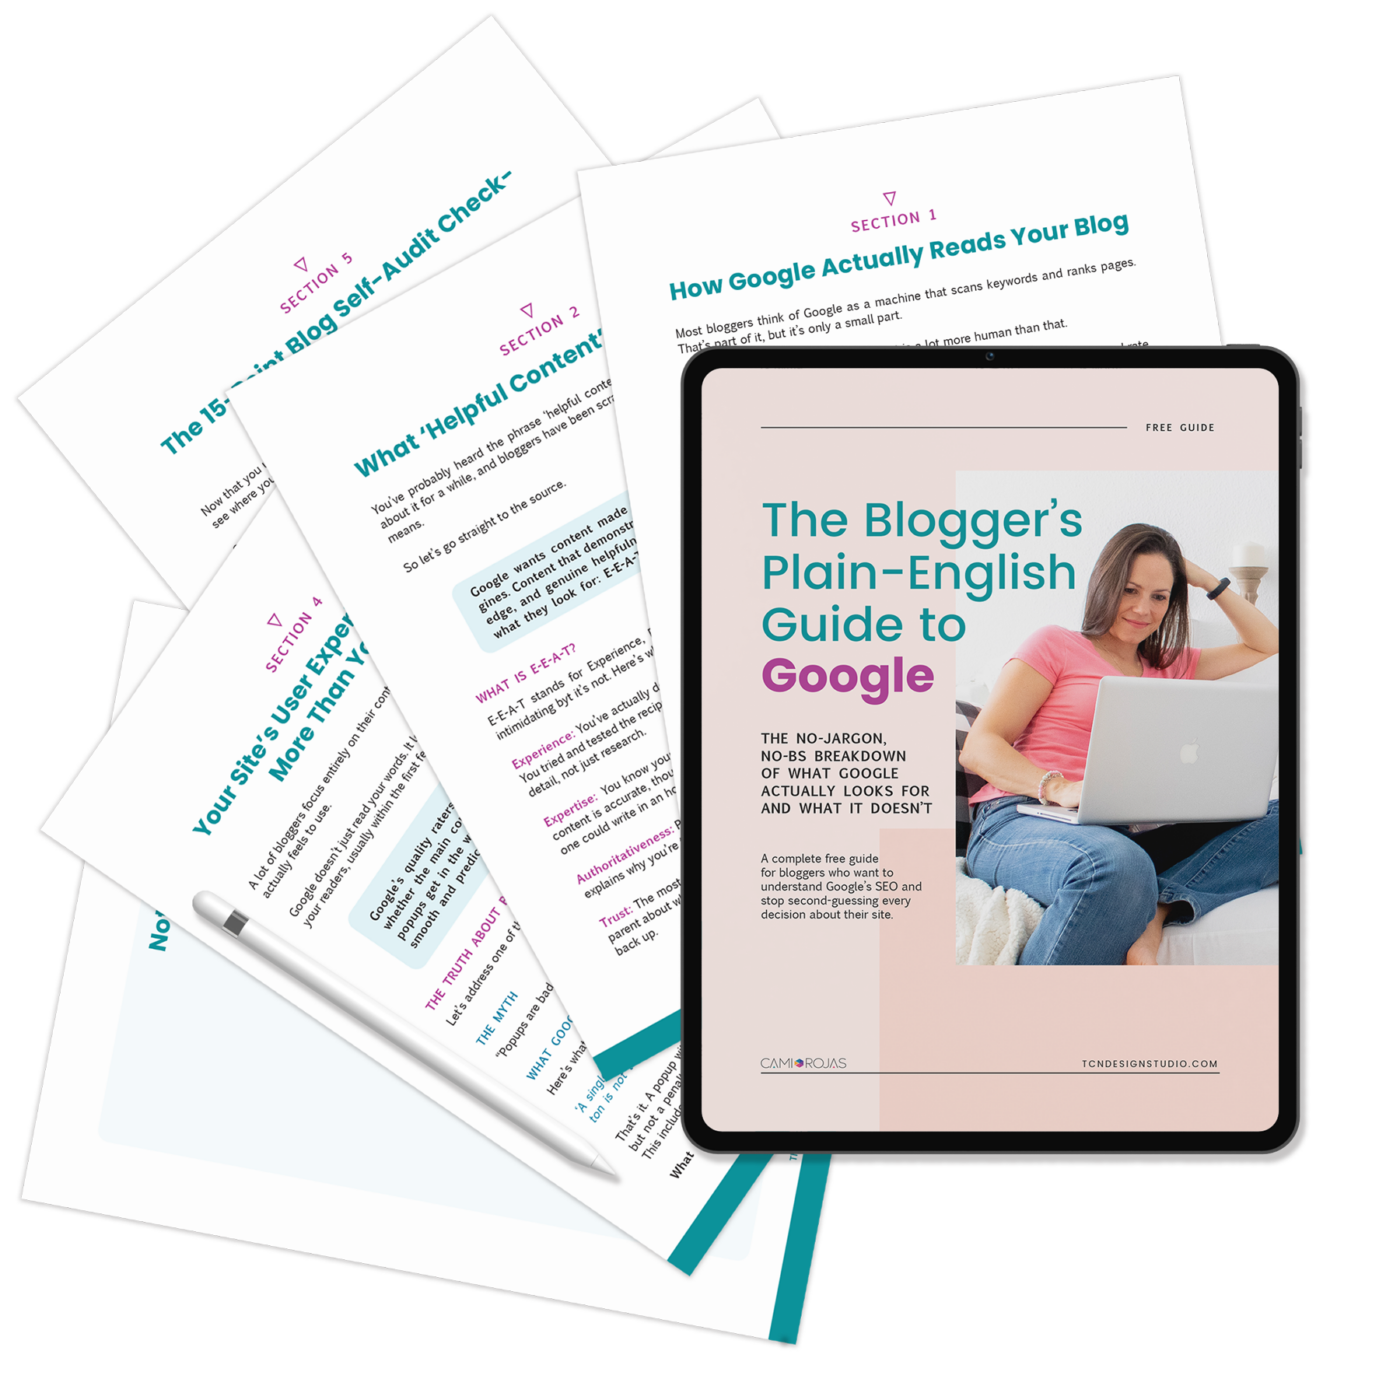
If you’re still working on making your blog content clearer and more useful, my free Blogger’s Plain-English Guide to Google is another resource to help you understand Google’s guidance without adding more complicated rules to your blogging routine.
Need More Help?
Writing great content is just the start—turning your blog into a thriving business takes strategy, focus, and the right support. That’s where I come in!
With over a decade of blogging experience, I offer one-on-one mentorship to help you navigate the challenges of blogging, from boosting traffic to mastering SEO and monetization.
If you’re ready to take your blog to the next level, let’s work together to create a tailored plan that aligns with your goals. Get in touch today to start your journey to blogging success!
Frequently Asked Questions
Frequently Asked Questions
There’s no ideal word count. A simple five-step craft tutorial may need far less explanation than a detailed sewing project or bread recipe. Focus on providing enough information for someone to complete the project successfully. Include useful details, photos, and explanations where they’re needed, but don’t add extra paragraphs just to make the article longer.
Not necessarily, but I highly recommend them when they help explain the process. For tutorials and recipes, photos can show important details that are difficult to communicate with words alone, such as how to fold fabric, assemble pieces, or recognize the right dough consistency. You don’t need to photograph every little action. Focus on the steps where someone might need visual guidance.
I recommend documenting the process as you work, then writing or organizing the instructions afterward. This allows you to capture important details, measurements, and problems you might otherwise forget. Personally, the structure of my craft tutorials usually comes together as I review my process images and write the steps. Other bloggers prefer creating an outline beforehand. Either approach is fine as long as the finished instructions are accurate and easy to follow.
No. A personal story can make your article more relatable, especially when it explains the inspiration behind a project, something you learned, or why you chose a particular method. But you don’t need to invent a story or write several paragraphs about your day before sharing the instructions. Include personal experiences when they add something meaningful, and keep the information readers came for easy to find.
More Blogging Posts To Read
If you enjoyed reading Writing Engaging and SEO-Friendly Blog Posts, you might also love these other blogging-related articles too:
- Blog Post SEO Checklist: What to Check Before You Publish (+ Free Printable)
- Mastering GA4: A Beginner’s Guide to Your Blog’s Analytics
- 7 Things to Increase Your Page RPM You can do today
- 7 Must-Have Pages for Your Creative Blog
Don’t forget to share and shave this post!